
On This Page8 sections
Prerequisites
Before you start, you need:
- A Mac running macOS.
- Terminal, iTerm2, or another terminal emulator.
- Codex CLI installed and working.
- A Codex task that you want to keep running for a long period.
- Basic familiarity with shell commands.
Codex CLI is OpenAI's command-line coding agent and can perform development work directly from your terminal.
The important macOS command for this tutorial is caffeinate. It is built into macOS, so you do not need to install another package or keep a third-party utility running.
The simplest command is:
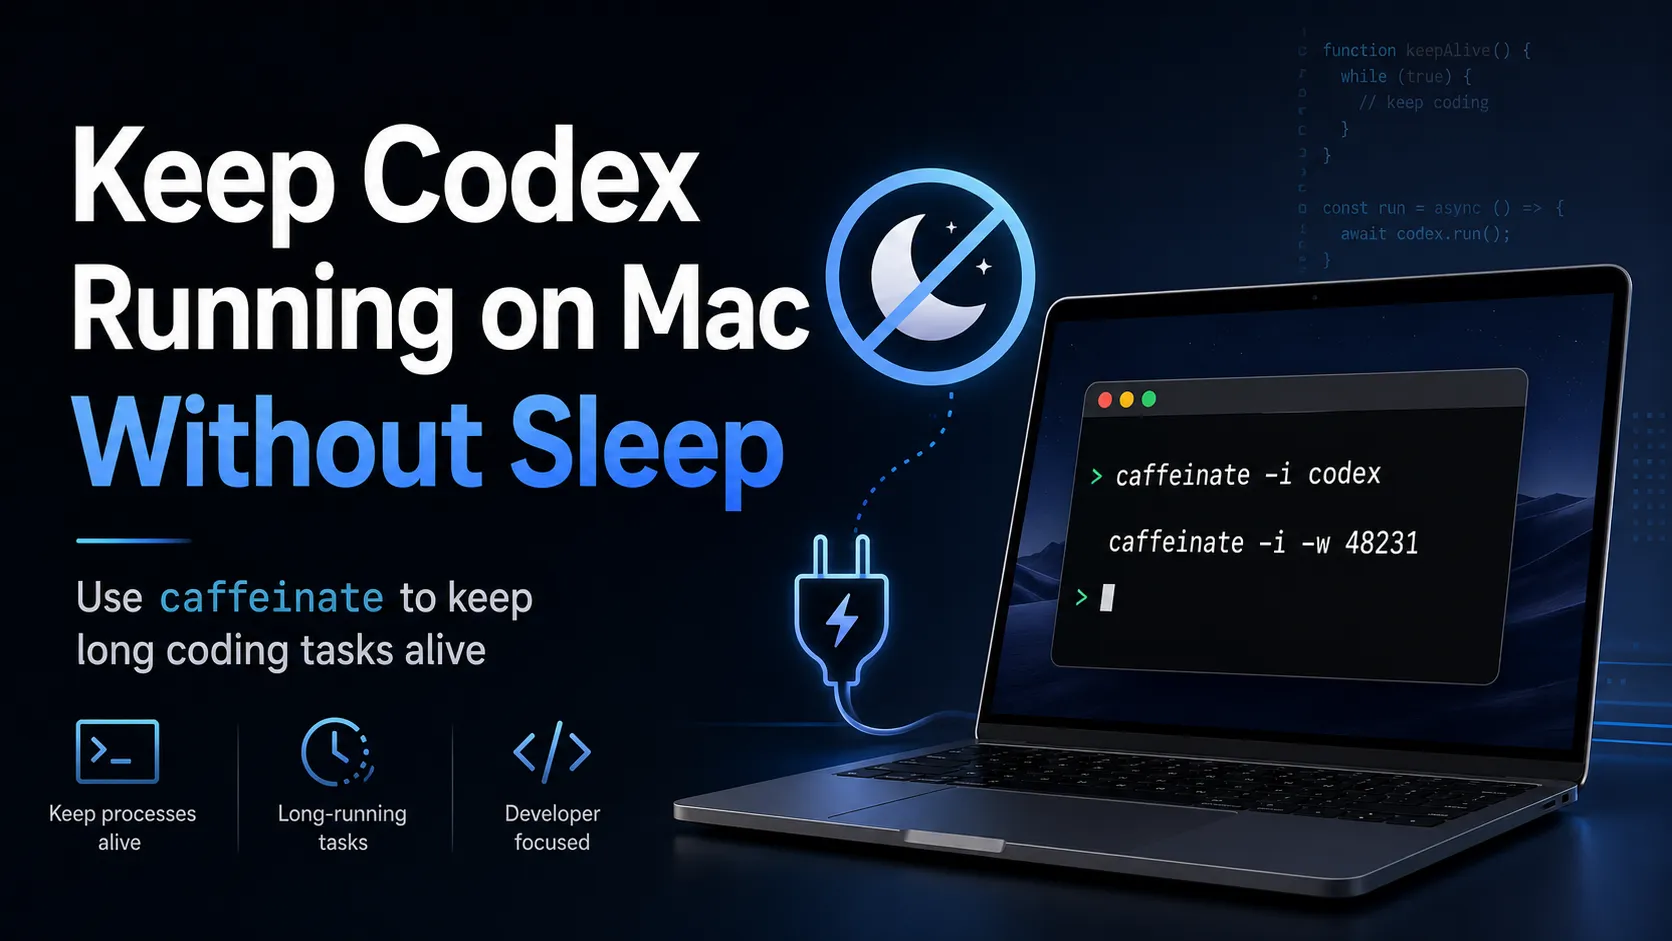
caffeinate -iAs long as that command is running, macOS is prevented from entering idle system sleep. Your display can still turn off, which is normally exactly what you want for a long-running Codex task.
Step 1: Understand Why macOS Sleep Can Interrupt Codex
When you run Codex locally from a terminal, the process depends on your Mac continuing to run.
For example, you may start:
codexand ask Codex to:
- Refactor a large project.
- Run tests repeatedly.
- Install dependencies.
- Analyze hundreds of files.
- Build an Astro or Next.js application.
- Fix TypeScript errors.
- Run a long shell command.
If macOS enters system sleep while that work is happening, CPU execution and network activity may be suspended. The Codex process normally remains in memory, but it cannot continue doing useful work until the Mac wakes again.
Turning off the display is different from putting the Mac to sleep.
For long-running coding tasks, the ideal state is usually:
Display off
    ↓
Mac awake
    ↓
Network active
    ↓
Codex continues running
You therefore usually want to prevent system idle sleep, not keep the display illuminated all night.
Step 2: Prevent Sleep Before Starting Codex
If Codex has not started yet, the cleanest solution is to launch it through caffeinate:
caffeinate -i codexThe -i option creates an assertion that prevents idle system sleep while the command is running.
The lifecycle becomes:
caffeinate starts
    ↓
Codex starts
    ↓
Mac is protected from idle sleep
    ↓
Codex exits
    ↓
caffeinate exits
    ↓
Normal macOS sleep behavior returns
This is better than permanently disabling sleep because the protection exists only while you actually need it.
You can still pass normal arguments to Codex. For example:
caffeinate -i codex --helpFor everyday use, this is the command worth remembering:
caffeinate -i codexStep 3: Keep Codex Awake When the Task Is Already Running
This is the most useful scenario when you have already started a long Codex task.
Suppose Terminal 1 currently contains:
codexCodex is already editing files or running commands, and you realize that your Mac may go to sleep.
Do not stop Codex.
Open a second Terminal or iTerm2 window and run:
caffeinate -iLeave that command running.
There may be no visible output. That is normal.
Your terminals now effectively look like this:
Terminal 1
----------
codex
[Codex continues working]

Terminal 2
----------
caffeinate -i
[No output; process remains running]
As long as caffeinate -i remains active, idle system sleep is prevented.
This is the easiest solution when Codex is already in the middle of a task because it does not require restarting, interrupting, or reconnecting the Codex session.
When Codex finishes, return to Terminal 2 and press:
Ctrl+CThat terminates caffeinate and restores normal sleep behavior.
Step 4: Attach caffeinate Directly to the Existing Codex Process
Leaving caffeinate -i running works, but there is an even cleaner solution.
You can tell caffeinate to stay active only until the existing Codex process exits.
First, find the Codex process ID:
pgrep -fl codexExample output:
48231 codexThe first number is the process ID, or PID.
Now run:
caffeinate -i -w 48231Replace 48231 with your actual PID.
The -w option tells caffeinate to wait for that process to finish.
The lifecycle becomes:
Existing Codex PID 48231
        │
        ├── caffeinate keeps Mac awake
        │
        ▼
Codex finishes
        │
        ▼
caffeinate automatically exits
This means you do not have to remember to return later and press Ctrl+C.
For an already-running Codex task, this is usually the best solution:
pgrep -fl codexthen:
caffeinate -i -w <PID>For example:
caffeinate -i -w 48231Step 5: Identify the Correct PID When Multiple Codex Processes Exist
You may see multiple results from:
pgrep -fl codexFor example:
48231 codex
48245 codex
48302 codex
This can happen when you have multiple Codex sessions or related child processes.
Use ps to inspect a particular PID:
ps -o pid,ppid,etime,command -p 48231Example output:
  PID  PPID     ELAPSED COMMAND
48231 47102       32:18 codex
Useful fields include:
- PID — process ID.
- PPID — parent process ID.
- ELAPSED — how long the process has been running.
- COMMAND — command associated with the process.
If you are unsure which process belongs to your active task, the simpler alternative is still perfectly reasonable:
caffeinate -iThat prevents idle sleep globally while the command is running and avoids selecting the wrong PID.
Step 6: Verify That caffeinate Is Actually Working
You can inspect macOS power-management assertions with:
pmset -g assertionsWhen caffeinate -i is active, you should see an idle-sleep-related assertion in the output.
Look for information similar to:
PreventUserIdleSystemSleep 1You may also see a process entry identifying caffeinate as the owner of an assertion.
The exact output can vary between macOS versions, but the important point is that the relevant sleep-prevention assertion should be active.
You can also confirm that caffeinate itself is running:
pgrep -fl caffeinateExample:
49120 caffeinate -i -w 48231That confirms the helper process is still present.
Step 7: Let the Display Turn Off While Codex Keeps Working
For overnight or multi-hour Codex tasks, you usually do not need to keep the screen on.
Use:
caffeinate -irather than:
caffeinate -diThe important difference is that -d prevents the display from sleeping.
For coding agents, keeping the display illuminated provides little benefit and wastes energy.
A better setup is:
Mac connected to power
Display allowed to turn off
MacBook lid left open
caffeinate -i active
Codex task running
The screen can become black while Codex continues running normally in the terminal.
Step 8: Understand the Useful caffeinate Options
caffeinate supports several sleep-related options.
Prevent idle system sleep
caffeinate -iThis is the most useful option for Codex.
Prevent display sleep
caffeinate -dUse this only if you specifically need the screen to remain on.
Prevent both idle system sleep and display sleep
caffeinate -diUseful when you need to continuously watch output, but unnecessary for most unattended coding tasks.
Run for a fixed duration
Use -t followed by the number of seconds.
For example, keep the Mac awake for four hours:
caffeinate -i -t 14400Because:
4 hours × 60 minutes × 60 seconds = 14400 secondsThis is useful when you know approximately how long a task should run.
Follow a specific process
caffeinate -i -w 48231This is particularly useful for attaching sleep prevention to a Codex process that is already running.
Step 9: Keep caffeinate Running After Closing Its Terminal
Normally, if you start:
caffeinate -iand then close that terminal window, the process may be terminated along with the shell session.
If you need the caffeinate process itself to survive that terminal session, you can use nohup:
nohup caffeinate -i >/tmp/caffeinate.log 2>&1 &The shell should print a background job and PID similar to:
[1] 50123You can verify it with:
pgrep -fl caffeinateTo stop it later:
pkill caffeinateBe careful with pkill caffeinate if you have multiple intentional caffeinate processes running, because it can terminate all matching processes.
For an existing Codex process, you can combine nohup with -w:
nohup caffeinate -i -w 48231 >/tmp/codex-caffeinate.log 2>&1 &Now sleep prevention automatically disappears when PID 48231 exits.
However, keeping caffeinate alive does not automatically make the original Codex terminal session survive being closed. If you want long-running terminal sessions that can be safely detached and reattached, use a terminal multiplexer such as tmux in addition to caffeinate.
Step 10: Create a Convenient Command for Future Codex Sessions
If you regularly run long Codex tasks, create a helper in your Zsh configuration.
Open:
nano ~/.zshrcAdd:
codex-awake() {
  caffeinate -i codex "$@"
}
Save the file and reload your shell configuration:
source ~/.zshrcYou can now start Codex with:
codex-awakeArguments are forwarded to Codex because of:
"$@"For example:
codex-awake --helpFor normal interactive use:
codex-awakeThis gives you a simple rule:
codex       → normal Codex session
codex-awake → Codex session protected from idle sleep
Avoid replacing the codex command itself with a shell function that accidentally invokes itself recursively. A separate name such as codex-awake is clearer and safer.
Step 11: Use tmux for More Reliable Long-Running Sessions
caffeinate solves the Mac sleep problem, but it does not solve every terminal-session problem.
For especially long tasks, consider combining it with tmux.
Start a tmux session:
tmux new -s codexRun Codex:
codexThen open another terminal and prevent sleep:
caffeinate -iYou can detach from tmux with:
Ctrl+B, then DLater, reconnect with:
tmux attach -t codexThis combination protects against two different problems:
caffeinate
    ↓
Prevents idle system sleep

    +

tmux
    ↓
Keeps the terminal session alive when you detach
For long unattended Codex work, this is a much more robust setup than depending on a normal terminal window alone.
Step 12: Know What caffeinate Does Not Protect Against
caffeinate is useful, but it should not be treated as a guarantee that every possible interruption is prevented.
In particular, do not assume caffeinate -i protects you from:
- Shutting down the Mac.
- Restarting macOS.
- Losing battery power.
- Killing the Codex process.
- Closing a terminal in a way that terminates Codex.
- Network outages.
- Explicitly terminating
caffeinate. - Every sleep behavior associated with closing a MacBook lid.
For a MacBook running an unattended task, the safest practical setup is usually:
- Connect the MacBook to power.
- Leave the lid open.
- Allow the display to turn off.
- Run
caffeinate -ior attach it with-w. - Use
tmuxwhen terminal-session persistence matters.
Avoid relying on caffeinate as a way to run a MacBook indefinitely with the lid closed. Lid-close behavior is different from ordinary idle sleep and depends on the Mac's hardware and operating conditions.
Common Issues & Troubleshooting
Codex is already running. Do I have to restart it?
No.
Open another terminal and run:
caffeinate -iThat takes effect without restarting the existing Codex session.
For automatic cleanup, find the Codex PID:
pgrep -fl codexThen attach caffeinate:
caffeinate -i -w <PID>caffeinate shows no output
That is expected.
This command:
caffeinate -inormally stays in the foreground without continuously printing status messages.
Verify it with:
pgrep -fl caffeinateor:
pmset -g assertionsI pressed Ctrl+C in the caffeinate terminal
That stops caffeinate.
Your Codex process in another terminal is not necessarily affected, but macOS can resume its normal idle-sleep behavior.
Restart sleep prevention with:
caffeinate -iI closed the caffeinate terminal
If the caffeinate process terminated with the terminal, sleep prevention is no longer active.
Start it again, or use:
nohup caffeinate -i >/tmp/caffeinate.log 2>&1 &I closed the Codex terminal
caffeinate does not preserve the shell session itself.
If closing the terminal terminates Codex, use tmux for future long-running jobs:
tmux new -s codexThe Mac went to sleep after I closed the lid
Do not treat caffeinate -i as a universal override for MacBook lid-close sleep.
For unattended Codex tasks, leave the MacBook open and let only the display sleep.
The display turned off. Is Codex still running?
Usually, yes, provided the Mac itself remains awake.
With:
caffeinate -ithe display is still allowed to sleep while idle system sleep is prevented.
This is normally the preferred configuration.
I see several Codex PIDs
Inspect them using:
ps -o pid,ppid,etime,command -p <PID>If you still cannot confidently identify the right process, simply run:
caffeinate -iinstead of using -w.
How do I know when the Codex-specific caffeinate process stopped?
If you started it with:
caffeinate -i -w 48231it should exit when PID 48231 exits.
Check with:
pgrep -fl caffeinateIf the relevant entry is gone, that assertion is no longer active.
Next Steps
For a Codex task that is already running, the fastest solution is simply:
caffeinate -iIf you want sleep prevention to disappear automatically when that particular Codex process finishes, use:
pgrep -fl codexfollowed by:
caffeinate -i -w <PID>For future Codex sessions, start them directly with:
caffeinate -i codexFor especially long or unattended work, combine:
Codex + caffeinate + tmuxThis gives you a practical macOS workflow where the display can turn off, the computer remains awake, the terminal session can be detached, and Codex can continue working without an avoidable idle-sleep interruption.
Continue Reading
More articles connected to the same themes, protocols, and tools.

ChatGPT Pro 200 Is Losing Half Its Usage: Pro 500, GPT-6.1 Sol, Dots and the October 30 Changes Explained

Codex + Cloudflare Zero Trust: The Safer Way to Ship Private AI-Built Internal Tools in 2026

AI Coding Agents Can Fix the Bug — So Why Are Their Explanations So Hard to Understand?
Referenced Tools
Browse entries that are adjacent to the topics covered in this article.