
On This Page8 sections
Prerequisites
Before installing Codex CLI, make sure you have the following ready:
- A supported operating system: macOS, Linux, Windows PowerShell, or Windows with WSL2.
- Terminal access: Terminal on macOS/Linux, PowerShell on Windows, or a shell inside WSL2.
- Internet access for downloading the installer or npm package.
- A ChatGPT account with Codex access or an OpenAI API key if you prefer API-key authentication.
- Node.js and npm if you plan to install through npm.
- Homebrew if you prefer the Homebrew install path on macOS.
- Git if you want Codex to work inside local repositories.
You do not need to clone the Codex repository just to use the CLI. The normal installation paths install the executable directly.
Step 1: Choose the Best Installation Method
Codex CLI can be installed in several ways. Pick the one that matches your environment:
- Official standalone installer: Best default choice for macOS and Linux.
- Windows PowerShell installer: Best for native Windows usage.
- npm install: Good if you already manage developer tools with Node.js.
- Homebrew cask: Convenient for macOS users who keep CLI tools updated with Homebrew.
- Manual binary download: Useful for locked-down machines, CI images, or custom install paths.
For most developers, use the official installer first. Use npm only if your Node.js setup is already clean and stable.
Step 2: Install Codex CLI on macOS or Linux
The official macOS/Linux installer is the simplest path:
curl -fsSL https://chatgpt.com/codex/install.sh | shExpected result:
Installing Codex CLI...
Codex CLI installed successfully.
Run `codex` to get started.
The exact output may vary by version, but the important part is that the codex command becomes available in your shell.
Verify the installation:
codex --versionExample output:
codex-cli 0.137.0Your version number may be newer.
If your terminal says codex: command not found, close and reopen the terminal, then try again.
Step 3: Install Codex CLI on Windows
On Windows, open PowerShell and run:
powershell -ExecutionPolicy ByPass -c "irm https://chatgpt.com/codex/install.ps1 | iex"Then verify:
codex --versionExpected output:
codex-cli 0.x.xIf you work heavily with Linux tooling, Docker, shell scripts, or native Linux build chains, consider using WSL2 and installing Codex inside the WSL environment instead.
Inside WSL2, use the Linux command:
curl -fsSL https://chatgpt.com/codex/install.sh | shStep 4: Install Codex CLI with npm
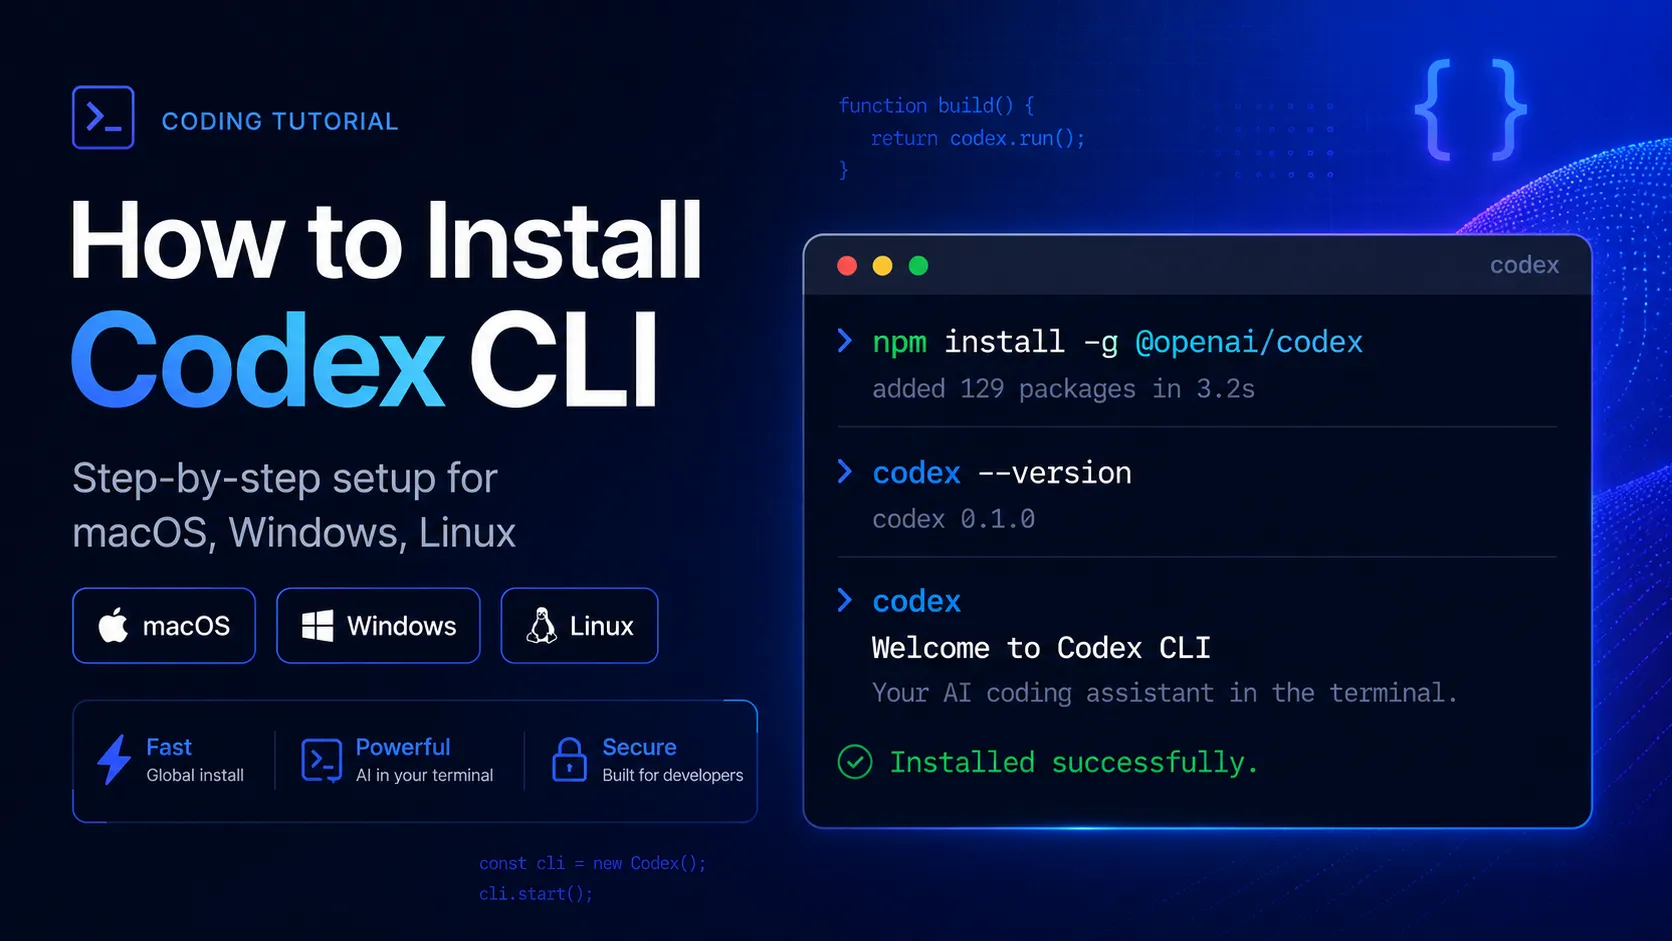
If you prefer npm, install the official package:
npm install -g @openai/codexThen verify:
codex --versionExample output:
codex-cli 0.x.xUse the scoped package name exactly:
@openai/codexAvoid similarly named third-party packages. CLI tools that request coding-agent credentials should be treated carefully, especially if they are not published by the expected maintainer.
Step 5: Install Codex CLI with Homebrew on macOS
If you use Homebrew, you can install Codex CLI as a cask:
brew install --cask codexVerify it:
codex --versionExpected output:
codex-cli 0.x.xHomebrew is convenient if you already update tools with:
brew update
brew upgrade
Step 6: Confirm Your Shell Can Find Codex
After installation, check where the executable lives:
which codexExample output on macOS/Linux:
/usr/local/bin/codexOn Windows PowerShell:
where.exe codexExample output:
C:\Users\YourName\AppData\Local\Programs\codex\codex.exeIf the command is installed but not found, your shell PATH probably needs to be refreshed.
On macOS/Linux, inspect your path:
echo $PATHOn Windows PowerShell:
$env:PathRestarting the terminal often fixes this after a fresh install.
Step 7: Sign In to Codex CLI
Run Codex from your terminal:
codexOn first launch, Codex will prompt you to authenticate. You typically have two options:
- Sign in with ChatGPT: Recommended if your ChatGPT plan includes Codex access.
- Use an API key: Useful for API-based workflows, automation, or separate billing.
A first-run flow may look like this:
Welcome to Codex CLI

? How would you like to sign in?
  Sign in with ChatGPT
  Use API key
Choose the option that matches your account setup.
If you use an API key, set it as an environment variable.
macOS/Linux:
export OPENAI_API_KEY="your_api_key_here"Windows PowerShell:
$env:OPENAI_API_KEY="your_api_key_here"To make the key persistent on macOS/Linux, add it to your shell profile, such as ~/.zshrc or ~/.bashrc:
export OPENAI_API_KEY="your_api_key_here"Then reload your shell:
source ~/.zshrcDo not commit API keys into Git repositories.
Step 8: Run Codex Inside a Project
Codex works best when launched from the root directory of a project.
Example:
cd ~/projects/my-app
codex
Inside the interactive session, ask it to inspect the project:
Summarize this codebase and explain the main entry points.Expected behavior:
Codex scans the current directory, reads relevant files, and returns a structured explanation of the project.Because Codex can read files, edit code, and run commands in the selected directory, start in a safe project folder rather than your home directory.
Step 9: Try Your First Practical Coding Task
A good first test is a small, reversible task.
For example, inside a JavaScript or TypeScript project:
Find the package manager used by this project, inspect the scripts, and tell me the safest command to run the test suite.Codex may respond with something like:
This project uses pnpm because pnpm-lock.yaml is present.
The test script is defined in package.json as `pnpm test`.
Run: pnpm test
Then ask it to make a small change:
Add a short README section explaining how to run the project locally. Show me the diff before applying it.This is a safe way to learn how Codex proposes edits before you allow larger changes.
Step 10: Use Codex Non-Interactively
For repeatable tasks, Codex can be used from scripts or one-off terminal commands depending on your installed version and available subcommands.
First check available commands:
codex --helpExample output structure:
Usage: codex [OPTIONS] [COMMAND]

Commands:
  help       Print help
  ...
If your version supports an exec or similar non-interactive command, you can use it for automation-style prompts.
Example pattern:
codex exec "Review the current diff and point out risky changes."Expected result:
Codex reviews the repository state and prints findings directly in the terminal.If codex exec is not available in your version, run:
codex --helpThen use the command name shown by your installed release.
Step 11: Update Codex CLI
Codex CLI releases change frequently, so update it using the same method you used to install it.
For the official macOS/Linux installer:
curl -fsSL https://chatgpt.com/codex/install.sh | shFor npm:
npm install -g @openai/codex@latestFor Homebrew:
brew update
brew upgrade --cask codex
For Windows PowerShell:
powershell -ExecutionPolicy ByPass -c "irm https://chatgpt.com/codex/install.ps1 | iex"Verify after updating:
codex --versionStep 12: Uninstall Codex CLI
Use the uninstall method that matches your install method.
If installed with npm:
npm uninstall -g @openai/codexIf installed with Homebrew:
brew uninstall --cask codexIf installed with the standalone installer, first locate the binary:
which codexThen remove it if appropriate:
rm /path/to/codexBe careful with rm. Confirm the path points to the Codex executable before deleting anything.
Common Issues & Troubleshooting
codex: command not found
Your shell cannot find the Codex executable.
Try:
codex --versionIf that fails, restart the terminal and check your path:
echo $PATHFor npm installs, check where global binaries are installed:
npm bin -gIf your shell does not include that directory, add it to your shell profile.
npm permission error: EACCES
This usually means npm is trying to write to a protected global directory.
Avoid blindly using sudo npm install -g. A safer fix is to configure npm to use a user-owned global directory:
mkdir -p ~/.npm-global
npm config set prefix ~/.npm-global
Add this to ~/.zshrc or ~/.bashrc:
export PATH="$HOME/.npm-global/bin:$PATH"Reload your shell:
source ~/.zshrcThen install again:
npm install -g @openai/codexNode.js is missing or too old
Check your Node.js version:
node --versionExample output:
v20.11.1If Node.js is missing or outdated, install a current LTS version with your preferred method.
Using nvm on macOS/Linux:
nvm install --lts
nvm use --lts
node --version
npm --version
Then retry:
npm install -g @openai/codexPowerShell blocks the installer
If Windows blocks script execution, use the official command with execution policy bypass:
powershell -ExecutionPolicy ByPass -c "irm https://chatgpt.com/codex/install.ps1 | iex"Run PowerShell as a normal user first. Only use administrator mode if your organization or machine policy requires it.
Authentication does not open the browser
If the browser sign-in flow does not open automatically, check whether Codex printed a login URL in the terminal.
Typical flow:
Open this URL to continue signing in:
https://...
Copy the URL into your browser manually. After completing sign-in, return to the terminal.
API key is not detected
Check whether the environment variable exists.
macOS/Linux:
echo $OPENAI_API_KEYWindows PowerShell:
$env:OPENAI_API_KEYIf the output is empty, set it again:
export OPENAI_API_KEY="your_api_key_here"Then run:
codexCodex is installed, but an older version keeps running
You may have multiple Codex binaries installed.
Check which one your shell is using:
which codexCheck npm global installation:
npm list -g @openai/codex --depth=0Check Homebrew installation:
brew list --cask | grep codexRemove the duplicate install method you no longer want, then restart your terminal.
Codex asks before editing or running commands
This is expected. Coding agents can modify files and execute commands, so approval prompts help prevent accidental changes.
For safety:
- Start in a Git repository.
- Commit or stash existing work first.
- Ask Codex to show diffs before applying edits.
- Avoid running Codex from your home directory.
- Review generated code before shipping it.
Suspicious package warning
Install only the official package name:
npm install -g @openai/codexAvoid packages with names that look like Codex add-ons, mobile wrappers, remote UIs, or unofficial launchers unless you have audited them. Malicious developer-tool packages can steal tokens, project data, or API credentials.
Next Steps
After installing Codex CLI, the best way to learn it is to use it on controlled, practical tasks:
- Run it in a small Git project and ask for a codebase summary.
- Ask for a test command recommendation before letting it edit files.
- Use small prompts first, such as fixing one bug or improving one function.
- Review diffs carefully before accepting changes.
- Create an
AGENTS.mdfile if your project needs persistent instructions for style, commands, architecture, or testing rules. - Keep Codex updated using the same install method you chose.
A good first real prompt is:
Read this repository and create a short implementation plan for improving error handling. Do not edit files yet.Once you trust the plan, continue with:
Apply the smallest safe change from the plan, then show me the diff and the test command I should run.That workflow keeps Codex useful without giving it too much freedom too early.
Continue Reading
More articles connected to the same themes, protocols, and tools.

Referenced Tools
Browse entries that are adjacent to the topics covered in this article.