
On This Page8 sections
Key Takeaways
- Use
grok --always-approveto launch Grok CLI without repeatedly approving tool actions. grok --yolois a shorter alias for the same always-approve behavior.- Inside an existing Grok CLI session,
/always-approvecan switch the permission mode without restarting the CLI. - The keyboard shortcut
Ctrl+Ocan also toggle the permission mode in supported Grok CLI versions. - For developers who want this behavior on every session, set
permission_mode = "always-approve"in the Grok CLI configuration file. - Always-approve mode is convenient for trusted repositories and autonomous coding workflows, but it removes an important safety barrier before shell commands, file changes, and other tool operations.
What Command Makes Grok CLI Stop Asking for Permission?
The most direct command is:
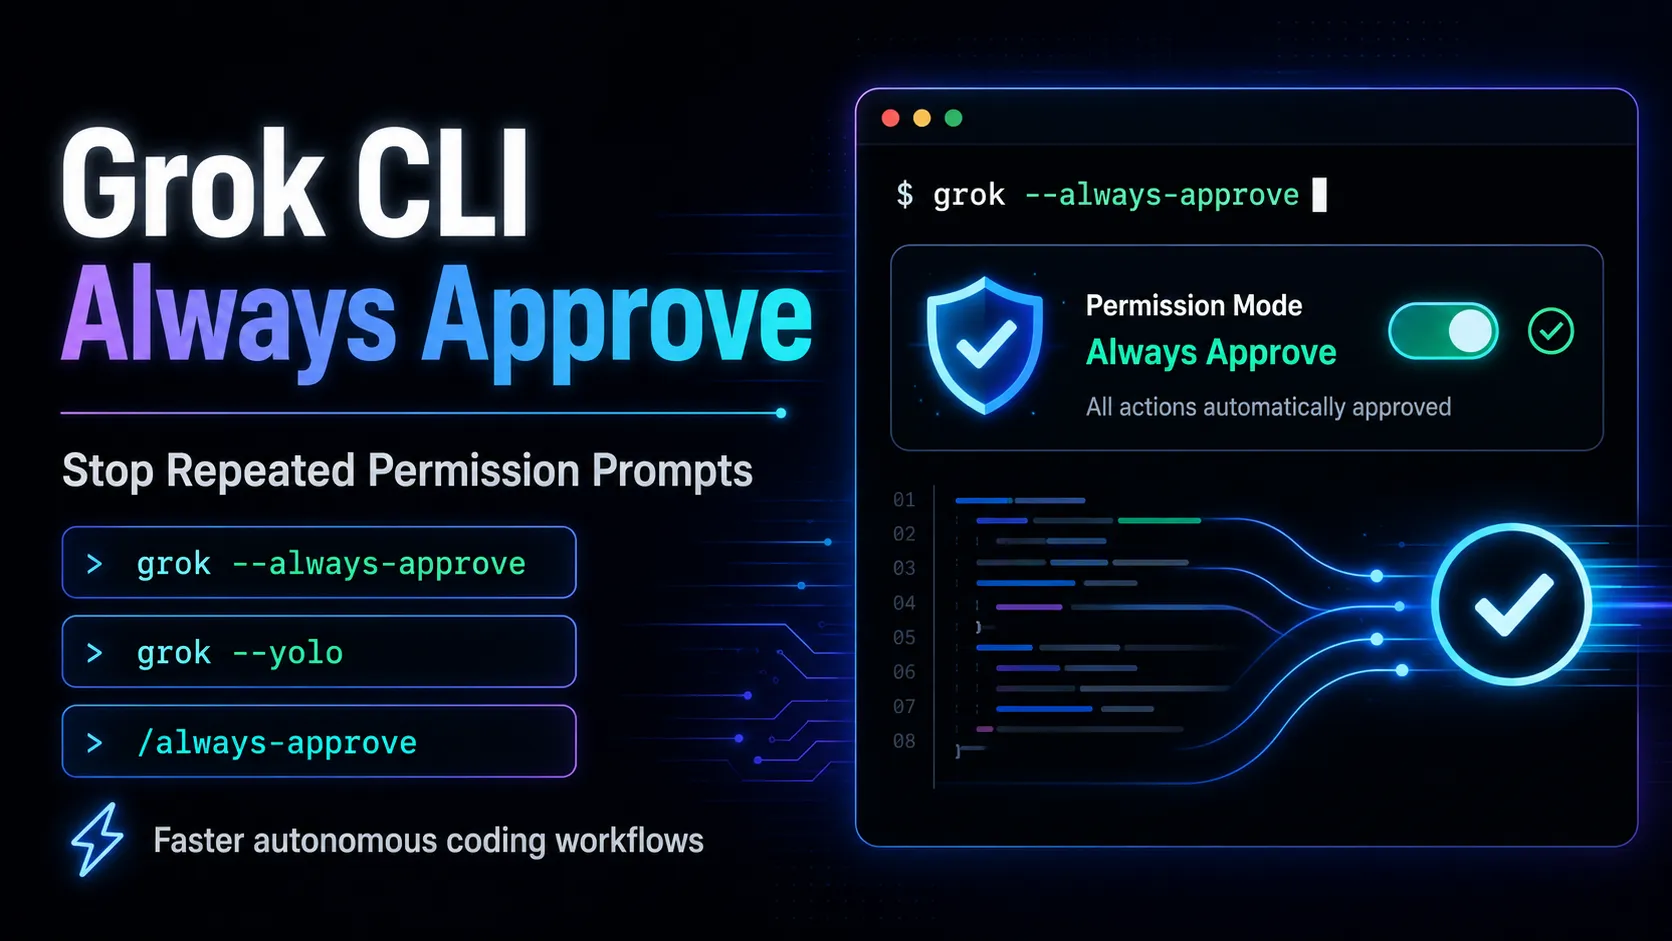
grok --always-approveThis starts Grok CLI in always-approve mode, allowing supported tool calls to run without requiring manual confirmation each time.
For developers using Grok as an autonomous coding agent, this can significantly reduce interaction overhead. Instead of approving every file edit, shell command, or tool execution, Grok can continue through a multi-step task with minimal interruption.
A shorter equivalent is:
grok --yoloIn current Grok CLI behavior, --yolo acts as an alias for the always-approve permission mode.
For most users, --always-approve is the clearer option because its behavior is immediately obvious when reading shell history, scripts, documentation, or team setup instructions.
Grok CLI Always Approve Commands at a Glance
| Goal | Command |
|---|---|
| Start Grok with automatic approvals | grok --always-approve |
| Use the shorter alias | grok --yolo |
| Enable it inside Grok CLI | /always-approve |
| Toggle permission mode | Ctrl+O |
| Make it the default | permission_mode = "always-approve" |
The key difference is persistence. Command-line flags affect the session being launched, while the configuration option can change Grok CLI's default behavior across future sessions.
How to Use grok --always-approve
From a terminal, run:
grok --always-approveThen give Grok a normal coding task, such as:
Find the failing tests, fix the implementation, run the test suite, and resolve any remaining failures.Without always-approve mode, an agentic workflow may pause several times to request permission before executing commands or modifying files.
With always-approve enabled, Grok can move through the workflow more autonomously:
- Inspect project files.
- Search the codebase.
- Modify relevant files.
- Run tests.
- Inspect failures.
- Make additional changes.
- Run validation again.
This is where the feature provides the most value. The time saved is not primarily from avoiding one confirmation dialog; it comes from eliminating confirmation bottlenecks across long chains of agent actions.
What Does grok --yolo Do?
The shorter command is:
grok --yoloIts purpose is essentially the same as:
grok --always-approveThe term yolo is commonly used by AI coding tools for modes that reduce or bypass interactive permission checks.
However, for scripts and professional development environments, the explicit form is easier to understand:
grok --always-approveA shell script containing --always-approve communicates exactly what permission behavior has been enabled. A developer encountering --yolo for the first time may need to look up what the flag actually changes.
How to Enable Always Approve Inside Grok CLI
If Grok CLI is already running, restarting it may not be necessary.
Enter:
/always-approveThis changes the permission behavior for the active session.
Grok CLI also supports a permission-mode keyboard shortcut:
Ctrl+OThis is useful when switching between supervised and autonomous workflows.
For example, a developer could begin with confirmation enabled while exploring an unfamiliar repository, then switch to always-approve after understanding the project structure and planned changes.
How to Make Grok CLI Always Approve by Default
Developers who use the mode frequently can configure it permanently instead of adding a flag every time Grok starts.
The Grok configuration file is typically located at:
~/.grok/config.tomlAdd or update the UI configuration:
[ui]
permission_mode = "always-approve"
After that, Grok can normally be launched with:
grokwithout manually adding --always-approve each time.
This setup is particularly useful on dedicated development machines, disposable containers, isolated virtual machines, and repositories where Grok is intentionally being used as an autonomous implementation agent.
Command-Line Flag vs Permanent Configuration
There are two main ways to use always-approve mode.
Temporary session
grok --always-approveBest for:
- Testing autonomous workflows.
- Working in an unfamiliar repository.
- Occasionally allowing Grok to complete a large task independently.
- Machines shared between different development environments.
The advantage is explicit intent. Each time unrestricted approval behavior is needed, it must deliberately be enabled.
Default configuration
[ui]
permission_mode = "always-approve"
Best for:
- Dedicated AI coding environments.
- Repetitive development workflows.
- Sandboxed repositories.
- Automated or semi-automated coding sessions.
The advantage is convenience, but the security trade-off is larger because developers may forget that the permission restriction has already been disabled.
Why Does Grok CLI Ask for Permission in the First Place?
Permission prompts are not simply interface friction. They create a boundary between model-generated intent and real system actions.
A coding agent may have access to operations such as:
- Editing or deleting files.
- Executing shell commands.
- Installing packages.
- Running build scripts.
- Modifying configuration files.
- Running Git commands.
- Accessing local development tools.
Traditional chat assistants mostly generate text. CLI coding agents can take actions that directly change a development environment.
Permission prompts therefore act as a human checkpoint before potentially consequential operations.
Always-approve mode removes many of these checkpoints to make the agent substantially more autonomous.
When Always-Approve Mode Makes Sense
The mode is most useful when the environment itself limits the potential damage.
Good examples include:
- Disposable development containers where the environment can easily be recreated.
- Temporary Git branches where every change can be reviewed before merging.
- Dedicated test repositories without production credentials.
- Sandbox VMs separated from important local files.
- Large refactoring tasks requiring many repeated test and edit cycles.
- Automated debugging workflows where the agent needs to run commands repeatedly.
Consider a task such as:
Upgrade the dependency, fix all TypeScript errors, run the tests, resolve failures, and verify the production build.This may require dozens of individual tool actions. Requiring manual approval for every action can turn an autonomous workflow into a mostly supervised one.
Always-approve mode allows Grok to keep iterating until the task reaches a natural stopping point.
When You Should Avoid Always Approve
Always-approve should be used more cautiously when Grok has access to sensitive or difficult-to-reverse resources.
Examples include environments containing:
- Production credentials.
- Cloud provider keys.
- Cryptocurrency wallets.
- SSH keys with production access.
- Important uncommitted files.
- Production databases.
- Deployment credentials.
- Private secrets stored in environment variables.
The important distinction is that an AI coding agent can misunderstand instructions even when it behaves exactly as designed.
For example, a request like:
Clean up all generated files and rebuild the project.could involve broader file deletion than the developer intended if project conventions are unclear.
Permission prompts give the developer another chance to inspect the proposed action before execution.
A Safer Workflow for Using Always Approve
Developers who want the speed of autonomous coding without unnecessarily exposing their entire machine can isolate the agent environment.
A practical workflow is:
git checkout -b grok-taskThen confirm the repository is clean:
git statusLaunch Grok:
grok --always-approveAfter Grok finishes its changes, review them:
git diffRun the relevant test suite and inspect the final Git state before committing.
This creates multiple layers of protection:
- Git provides change visibility.
- A separate branch simplifies rollback.
- Tests detect implementation regressions.
- Environment isolation limits the blast radius of incorrect commands.
The better strategy is therefore not simply to ask whether always-approve is safe. The more useful question is whether the environment is designed so that autonomous actions are recoverable.
Grok CLI Always Approve vs Interactive Permission Mode
Interactive approval
Advantages:
- Greater control over shell commands.
- Easier to catch suspicious operations.
- Better for unfamiliar repositories.
- Better when sensitive credentials are accessible.
Disadvantages:
- Interrupts long-running coding workflows.
- Requires constant developer attention.
- Reduces the usefulness of autonomous agents.
Always approve
Advantages:
- Faster autonomous execution.
- Fewer interruptions.
- Better for multi-step debugging and refactoring.
- Allows repeated build-test-fix loops without manual intervention.
Disadvantages:
- Commands execute with less human oversight.
- Mistakes can propagate further before being noticed.
- Environment security becomes significantly more important.
The choice depends less on the size of the coding task than on how much trust should be placed in the execution environment.
Can Grok CLI Behave More Like Claude Code's Skip-Permissions Mode?
Developers moving between coding agents often look for an equivalent to Claude Code's permission-bypass workflows.
Grok CLI's native approach is:
grok --always-approveSome compatibility-oriented workflows may also recognize terminology associated with permission-skipping modes from other AI coding CLIs. However, using Grok's native flag is preferable because it makes the configuration easier to understand and less dependent on compatibility behavior.
For Grok-specific scripts, documentation, aliases, and onboarding instructions, use:
grok --always-approverather than relying on another tool's terminology.
Useful Shell Aliases for Grok CLI
Developers who want convenient access without changing Grok's global default can create a shell alias.
For Zsh or Bash:
alias groka='grok --always-approve'Then launch autonomous mode with:
grokaThis creates a useful middle ground between temporary and permanent configuration.
Normal Grok sessions remain protected:
grokwhile autonomous sessions remain intentionally explicit:
grokaThis approach can be safer than configuring every Grok session to use always-approve automatically.
Advanced Workflow: Run Grok in a Dedicated Git Worktree
For larger autonomous tasks, Git worktrees provide stronger separation than simply creating another branch in the same working directory.
For example:
git worktree add ../project-grok -b grok/refactor
cd ../project-grok
grok --always-approve
Grok now operates in a separate working tree.
This has several practical advantages:
- The main development directory remains untouched.
- Autonomous changes are isolated on their own branch.
- Developers can continue working elsewhere simultaneously.
- Deleting the worktree provides a simple recovery path.
For teams adopting autonomous CLI agents extensively, this pattern can be more scalable than giving an unrestricted agent access to the primary working copy.
Common Mistakes
Making always-approve permanent too early
It may be tempting to immediately set:
permission_mode = "always-approve"However, starting with the command-line flag is generally easier to control. Once the workflow is understood, permanent configuration can be considered.
Running it from the wrong directory
Before launching Grok, check:
pwd
git status
An autonomous coding agent operating one directory above the intended repository may have access to substantially more files than expected.
Giving the agent access to unrelated secrets
A repository may contain .env files, deployment tokens, database credentials, or cloud configuration unrelated to the coding task.
Removing unnecessary secrets from the agent environment reduces risk more effectively than relying solely on prompt instructions such as "do not touch production."
Confusing autonomy with correctness
Always-approve controls whether Grok needs permission to execute an action. It does not guarantee that the action is correct.
Code review, tests, linting, type checking, and Git diffs remain important even when Grok successfully completes a task without asking questions.
Recommended Setup for Autonomous Grok CLI Coding
A strong setup combines Grok's permission mode with standard software engineering safeguards.
Before starting:
git status
git checkout -b grok/task-name
Launch Grok:
grok --always-approveAsk for explicit validation in the task itself:
Implement the requested change. Run linting, type checking, unit tests, and the production build. Fix any failures introduced by your changes and summarize the files modified.After completion:
git status
git diff
Then independently run the project's critical validation commands before merging.
This workflow preserves most of the productivity advantage of autonomous agents while maintaining deterministic checkpoints around the final code.
Frequently Asked Questions
What is the Grok CLI command to skip repeated permission prompts?
Use:
grok --always-approveIs grok --yolo the same thing?
Yes. It provides a shorter way to launch Grok CLI with automatic approval behavior.
Can always-approve be enabled after Grok has already started?
Yes. Use:
/always-approveThe permission mode can also be toggled with Ctrl+O in supported versions.
How do you make Grok CLI stop asking permanently?
Configure:
[ui]
permission_mode = "always-approve"
inside:
~/.grok/config.tomlIs always-approve the best mode for every developer?
No. It is most appropriate when the environment is trusted, isolated, recoverable, and protected from sensitive production resources.
Does always-approve mean Grok can do anything on the computer?
The actual capabilities still depend on Grok CLI's available tools, operating-system permissions, working directory, environment, and other security boundaries. Always-approve primarily removes interactive approval checkpoints; it does not automatically grant operating-system privileges the process does not already have.
Conclusion
For developers who want Grok CLI to work through coding tasks without repeatedly stopping for confirmation, the primary command is:
grok --always-approveThe shorter alternative is:
grok --yoloFor frequent use, the behavior can also be configured through ~/.grok/config.toml.
The biggest productivity gains appear during multi-step agentic workflows involving repeated file edits, terminal commands, testing, debugging, and validation. However, removing confirmation prompts also shifts more responsibility to the surrounding development environment.
The strongest setup combines Grok CLI always-approve mode with Git branches or worktrees, isolated development environments, restricted credentials, automated tests, and final human review. This allows Grok to operate autonomously without treating unrestricted execution as a substitute for engineering safeguards.
Continue Reading
More articles connected to the same themes, protocols, and tools.


Referenced Tools
Browse entries that are adjacent to the topics covered in this article.